
Cyberattacks are on the rise year-on-year and Attackers are using different techniques to clear the traces after the attacks. It’s essential to use the right tools and methods to identify attacks and prevent further attacks.
To perform a better analysis and collect Artifacts, we will understand the KAPE tool to see how it works. So let’s start with the basics.
Kroll Artifact Parser and Extractor (KAPE) parses and extracts Windows forensics artifacts. This tool significantly shortens the amount of time reaction to an incident needs, providing critical material from either a live system or a storage device prior to when the imaging process would finish.
KAPE serves two primary purposes, 1) collect files and 2) process the collected files as per the provided options.
For achieving these purposes, KAPE uses the concept of targets and modules. Targets can be defined as the forensic artifacts that need to be collected. Modules are programs that process the collected artifacts and extract information from them.
But how does this work?
KAPE is extensible and highly configurable. Based on the configuration, the KAPE binary collects files and processes them.
KAPE stores the items in a queue and copies them in two stages. Initially, as many of the files as it can are covered by accessing them normally. Then, an alternate process is introduced for those that cannot be accessed if the OS has blockaded them. Using this alternate method involves tapping into disk information leaving any timestamps or other crucial data intact right up to storing their locality like the source.
Once the data is collected, KAPE can process it using modules. The modules can be independent binaries that run on the collected data and process them to extract information. For example, KAPE will collect and copy the Prefetch file to our target destination during the target collection. Running a Prefetch Parser (PECmd) module on this target will extract the Prefetch file and save it in a CSV file.
KAPE does not need to be installed. It is portable and can be used from network locations or USB drives.
KAPE has two versions, CLI and GUI, and can be used based on the requirements. When you download, you can see both versions in the folder. Kape comes with a PS script to pull updates from the repo.
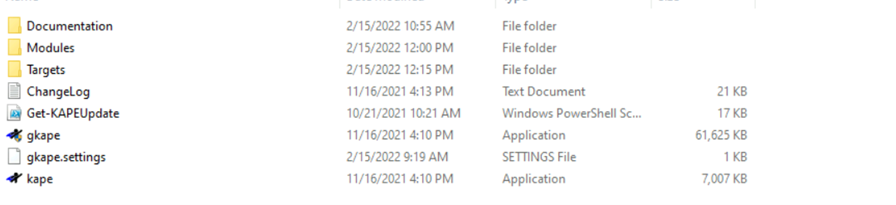
As we discussed earlier, KAPE uses a method called Target to identify the places to collect artifacts. So if you see the directory of KAPE, we can see a folder called Targets. If we open that we will see a list of locations where the artifacts will be collected for analysis.
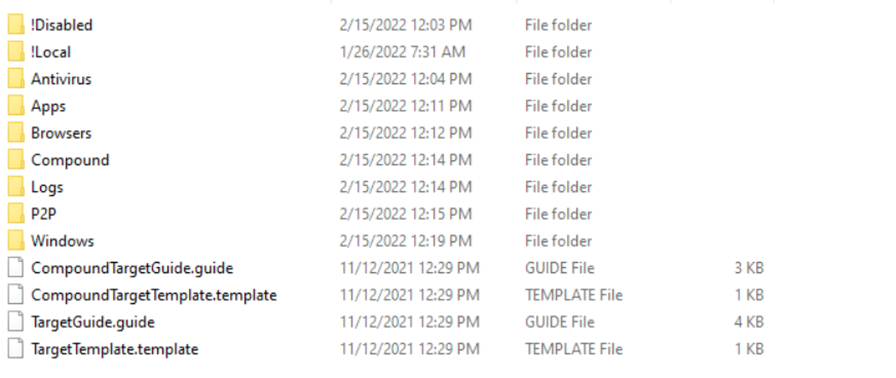
For example, if we take the Windows folder and open it, we will see a bunch of files with an extension (.tkape) supported by KAPE. These are the files, locations from which the data is collected.

If in case, the collected data is not completed as per configuration, KAPE uses something called a Compound target. As the name suggests it’s a mix of targets which help to collect more information.
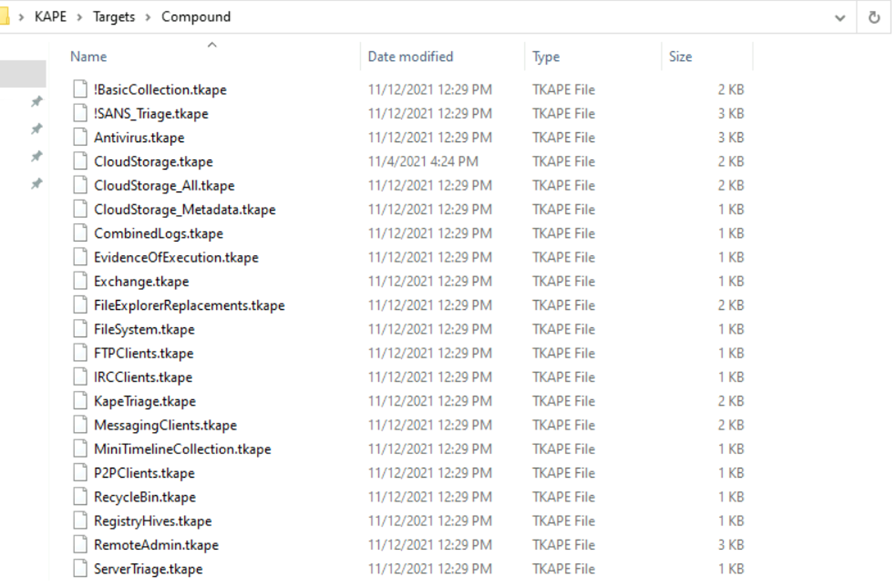
The majority of them are more like generic logs collected immediately before any kind of sweeping activity gets initiated.
When it comes to modules, it’s more like a bunch of programs or executables, which can be used to run and collect the required information.
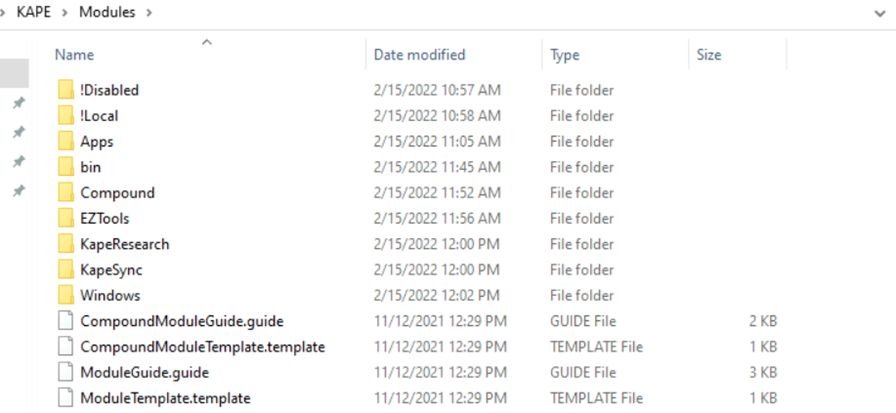
The structure is almost similar to Targets and here the extension (.mkape) is different. If you check the Windows folder, here is what it looks like with a bunch of programs.
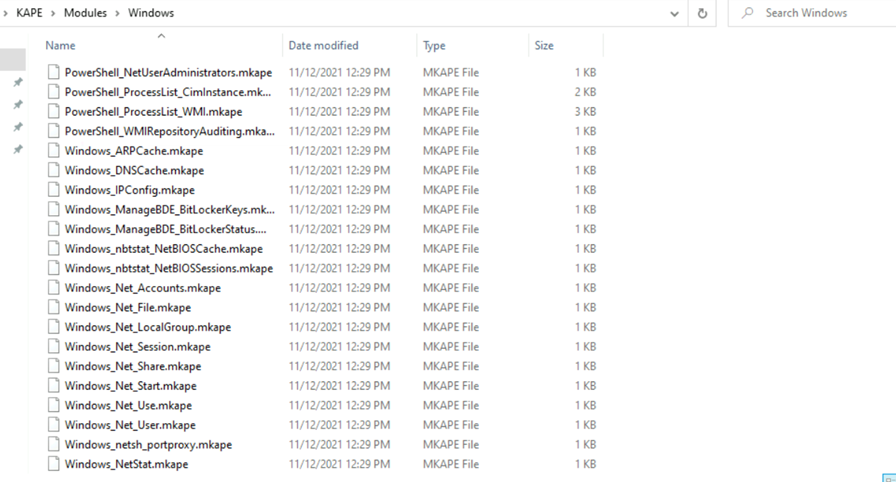
If you take a example, there is one file called (Windows_Net_user) which gives details of users as part of collection. In similar to targets, modules also have a compound folder where bunch of modules is used to collect information.

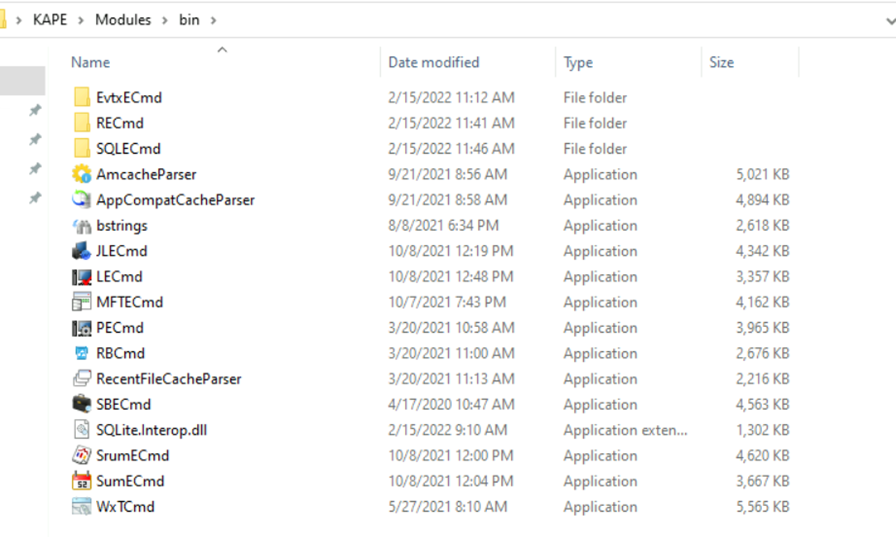
But one thing we find different is the bin directory. The bin directory contains executables that we want to run on the system but are not natively present on most systems. KAPE will run executables either from the bin directory or the complete path.
Now we have a basic understanding of the KAPE directory, let’s go through both CLI and GUI versions.
- Click gkape.exe to launch the GUI version.
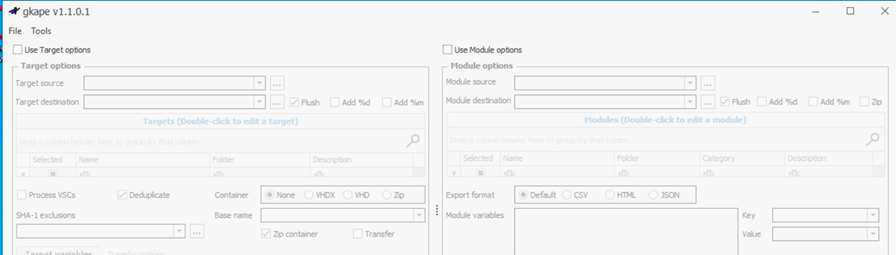
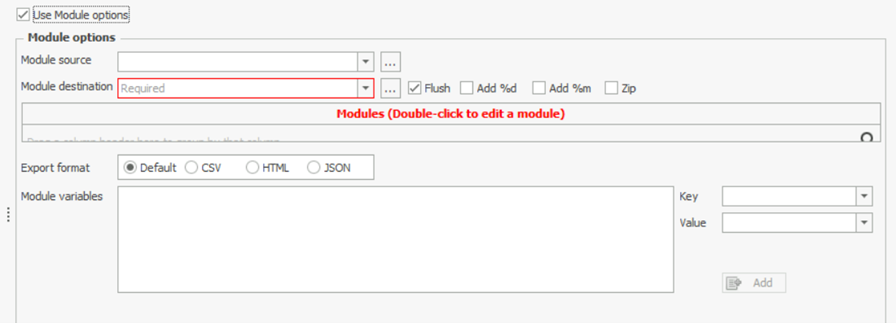
The GUI version comes with two parts where we can either enable targets or modules. When we select the respective option, we will get more options.
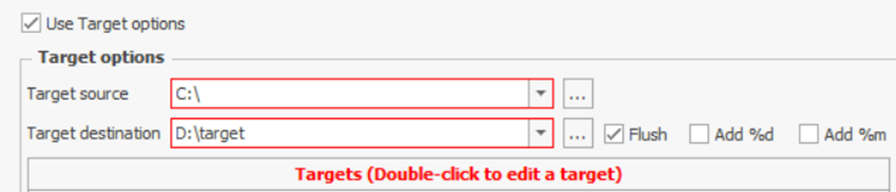
If we want to perform forensics on the same machine on which KAPE is running, we will provide C:\ for the Target source. We can select the target destination of our choice.
Here, the additional options Flush checkbox will delete all the contents of the Target destination. Add %d will append date info to the directory name where the collected data is saved. Similarly, Add %m will append machine info to the Target destination directory.
In the Current command line tab, we can see the command line options being added or removed while configuring the UI.

Now same goes for the Module tab also.
Once all the selection of Targets and modules, Press Execute. We will see a command line window open and show us the logs as KAPE performs its tasks. It will take a few minutes to execute since it will be collecting all the data and then run the module processes on it. Once it completes, it will show us the total execution time and the data will be available at our destination.
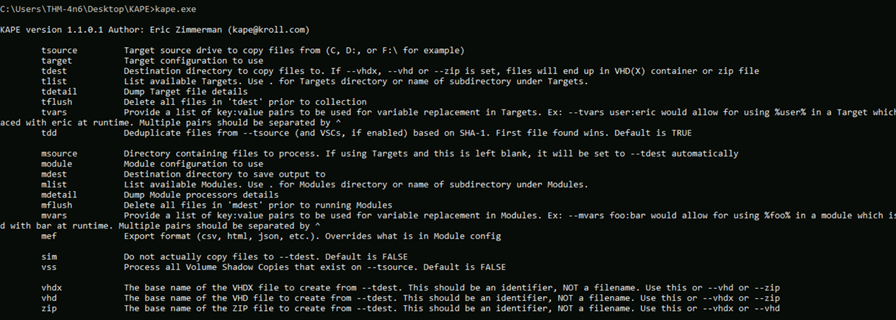
Kape CLI version can be accessed using kape.exe and we can use it with the same options etc, and the command shown in the current command line can be used to perform the same action.

KAPE is one of the best forensic tools to collect artifacts in Windows machines as it can be used extensively with configuring as per our requirements.


