
In our previous articles, we explored how we can use tools like registry explorer to extract critical information from the system from basic system information to file executed, the process created and modified. In this article, we will explore more places for collecting artefacts for forensic analysis. These artefacts prove evidence of execution, file/folder usage or knowledge, and external device usage.
Windows has two types of file systems FAT and NTFS. The File Allocation Table is a linked list of all the clusters.
The FAT file format divides the available disk space into clusters for more straightforward addressing. The number of these clusters depends on the number of bits used to address the cluster, whereas Microsoft created NTFS (New Technology File System) to resolve the issues in FAT system.
The NTFS file system keeps a log of changes to the metadata in the volume. This feature helps the system recover from a crash or data movement due to defragmentation. This log is stored in $LOGFILE in the volume’s root directory.
The NTFS file system keeps track of changes made to a file using a feature called Volume Shadow Copies. Using this feature, a user can restore previous file versions for recovery or system restore.
In recent ransomware attacks, ransomware actors have been noted to delete the shadow copies on a victim’s file systems to prevent them from recovering their data.
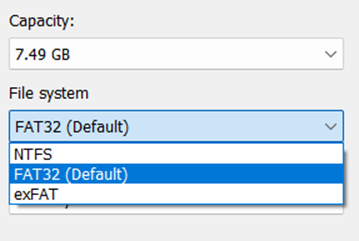
Whenever you format an internal disk or external disk, you often come across this file system to select how the new disk should be considered as:
The NTFS file system structure is kept in the more comprehensive Master File Table (MFT). It acts as a database that records all items stored on the volume.
Recovering Data using Autopsy
For forensic analysis, it’s important to recover each byte of data for a holistic approach. In this case, we use a professional data recovery tool Autopsy.
An autopsy is a tool created by US Homeland Security to analyze seized disk images. It will ingest all the data sources and recreate unallocated clusters or declustered bytes of data to restore the files and folders. Just like every scanning software, we need to create a new project, select data sources to scan and wait.

Once you create a new project, you need to add a data source or you can directly select if you want to recover only images etc.
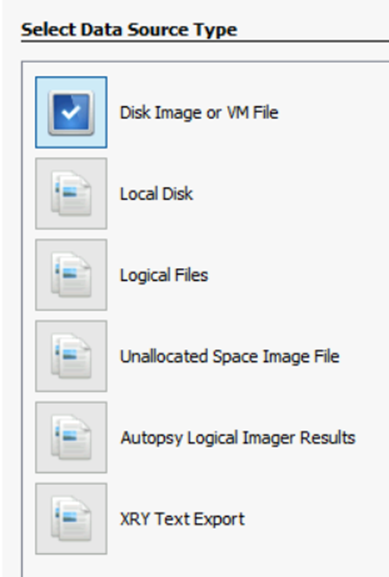
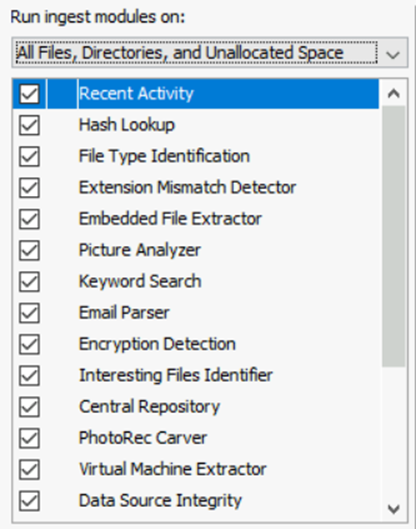
We should select the type of data source which we want to connect and the data ingestor will run the configuration against the unallocated or decluttered space for reconstruction of the data
Once it is done, it will open an explorer tab to review and recover the deleted files.
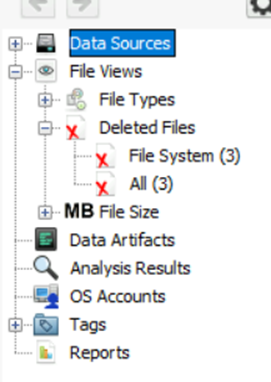
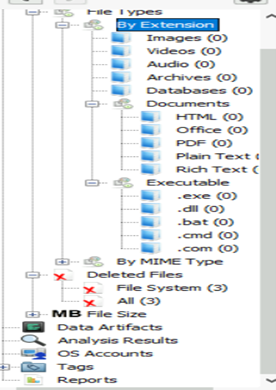
Files with extension, and filetype are categorized in the panel for quick access, and based on the requirement, we can recover or read the file data. To recover a deleted file, right-click on it, and select the Extract File(s) option.
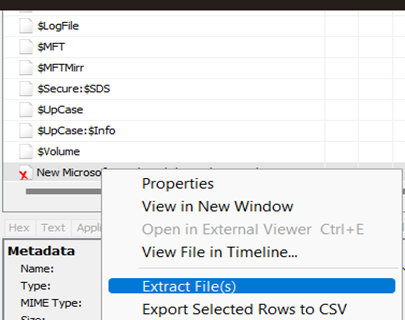
Instead of extracting, we can also view the details in the below text panel. This helps us to review the executed file or scripts before downloading them onto the system.
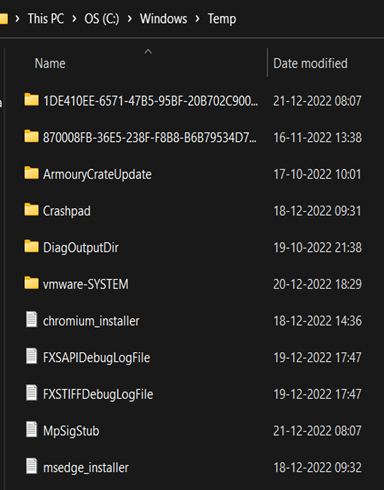
But, Attackers don’t use standard allocated disks to execute malicious attacks. These can leave traces of process execution. Hence they use temporary spaces like Temp, and prefetch folders for quick execution. Once the execution is complete these will be vanished from the disk
Folders like Temp,appdata,preftech containing process executions. Any system update changes are stored here. Often times these cache folders can be exploited as these might be an exception in the security folder. Here is one of the change logs generated in the folder regarding a modification in the system.

Windows Prefetch files
When a program is run in Windows, it stores its information for future use. This stored information is used to load the program quickly in case of frequent use.
Location: C:\Windows\Prefetch directory.
Prefetch files have an extension of .pf. These files store the recent run times of an application, the frequency with which it was used, and any documents and device handle that were utilized by said file. Consequently, they provide a valuable source of info regarding recently executed programs as well as documents.
Windows Jump Lists
Windows introduced jump lists to help users go directly to their recently used files from the taskbar. We can view jumplists by right-clicking an application’s icon in the taskbar, and it will show us the recently opened files in that application.
C:\Users\\AppData\Roaming\Microsoft\Windows\Recent\AutomaticDestinations
Shortcut Files
Windows generates a shortcut document for all files opened either locally or remotely. This shortcut document contains data such as the initial and final access times of the file, along with its path and some other details.
C:\Users\<username>\AppData\Roaming\Microsoft\Windows\Recent\
C:\Users\<username>\AppData\Roaming\Microsoft\Office\Recent\
These are considered logical files which get deleted by an attacker. When it comes to logical files like temp, and prefetch, we cannot exclude the browser cache.
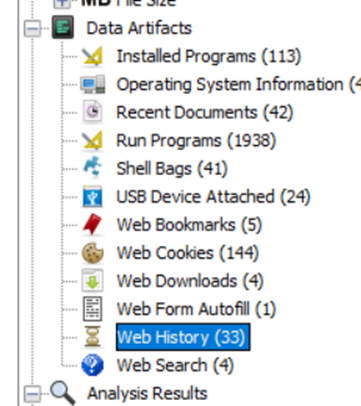
According to a security survey, browser cache causes the majority of security alert incidents, and processes, and functions match many of the botnet patterns. Hence it’s crucial to recover the history files to understand the pattern.
Autopsy helps you to recover the logical files for analysis.
These are some of the critical information irrespective of the case during forensic analysis of a windows machine. This information can let you know details like the type of process executed, the source of the execution, the timeline, and other information.
In future articles, we will cover more tools and techniques to perform forensic analysis on other machines and applications.


